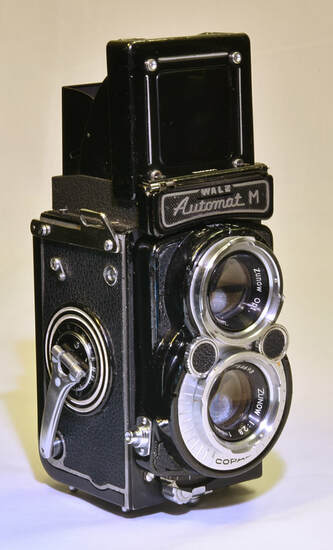
Walz Automat M
|
Something significant happened in 1957. This was the launch of the Rolleiflex “Grey Baby”, aka 4x4 Automatic, a 4x4 Twin Lens Reflex (TLR) using 127 film. This initiative set off what almost seems like panic in Japan. In 1958-59 no less than seven Japanese manufacturers each launched one or more 4x4 TLRs – and that’s leaving out aborted launches by Olympus and Kondo.
The Walz Automat M is one of these, but a hard one to find. They were only sold for a year or so, and the total number produced may be around 5000, most of which are the non-M version which doesn’t have a built-in exposure meter. For a bit more information see camerapedia.wikia.com/wiki/Walz_Automat_44. They may never have been officially exported from Japan, and appear only rarely in the West, and at “silly” prices – they can be £800-£2,000, when their commoner competitors (by Topcon, Ricoh, Yashica etc.) can usually be bought for £50-250. So I was pleased when I was able to buy most of one on eBay UK for £20! Most of one? – it’s hard to know the history, but it arrived in parts, and missing some important bits. Perhaps it had been used as a “mine” of parts to repair another one? But it looked as if it could be made to work, even if not completely. The Walz has a built-in exposure meter that has not been stuck rather arbitrarily onto a model that previously didn’t have one, but is properly designed-in. The cell is under the nameplate (which flaps up), and the meter is read at a bulging housing on the photographer’s left, where the focusing knob would normally be. As there is no room for a focusing knob on the left, that function is carried out by a quadrant lever below the lensboard, like that on a Meopta Flexaret. This is an interesting and unusual design feature; the taking lens moves in and out on a coarse helical. Both lenses are fixed to the lensboard, so when the taking lens moves, the viewing lens follows it. The main missing parts from the camera I bought were
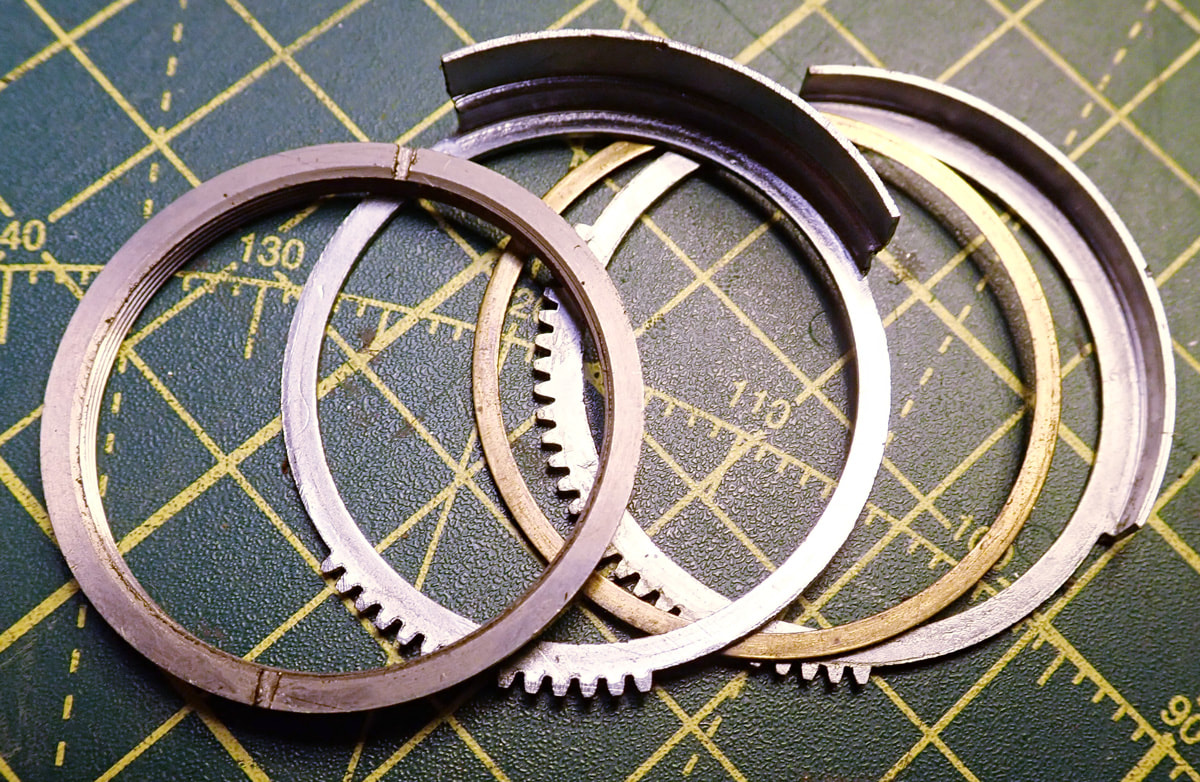
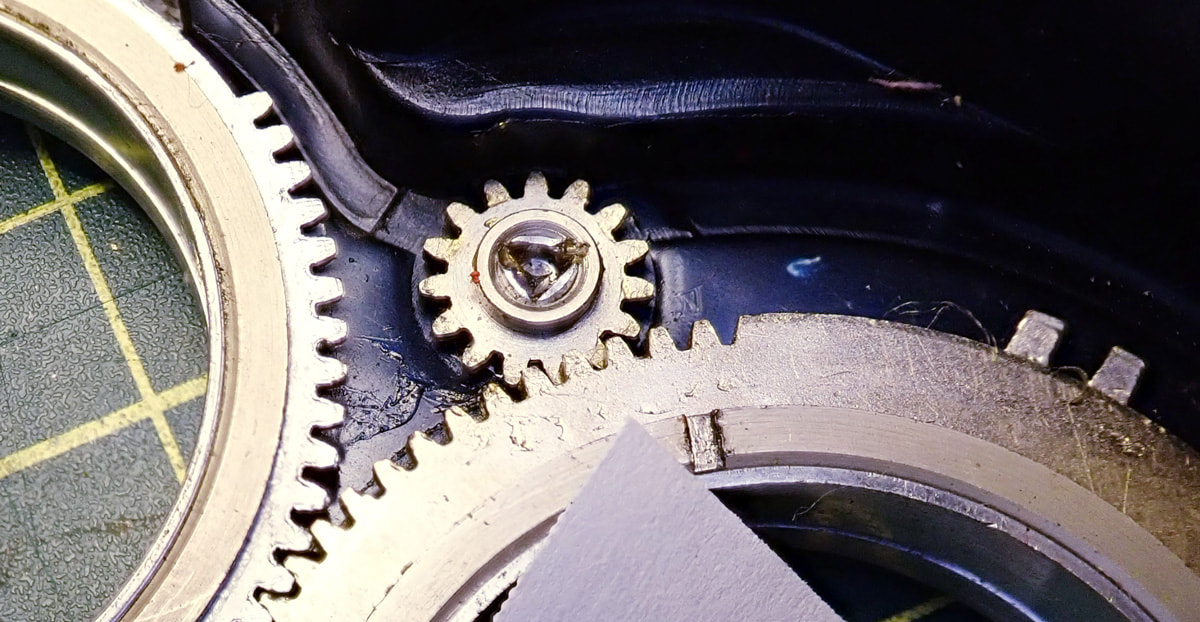
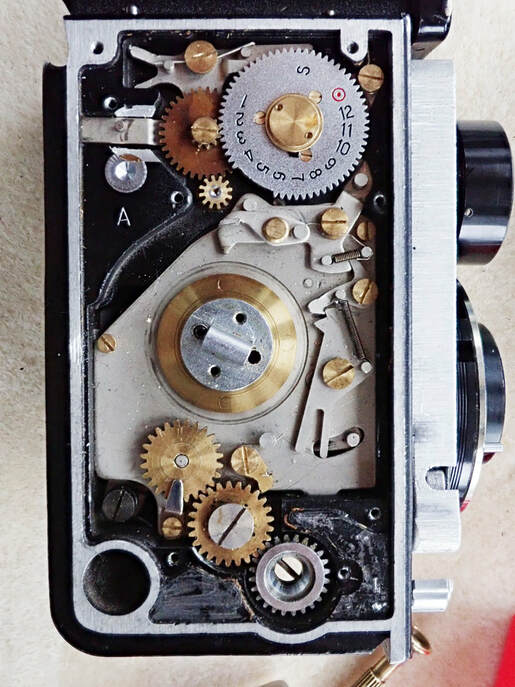
I had to make some decisions as to what to restore and what to abandon. After a thorough investigation, I decided not to keep the metering system, because building a new housing and meter from scratch would be too difficult, especially without another camera or even photographs to work from. I just made a cover-plate to tidy up the hole in the side of the body. The meter cell is still there under the flap (and does generate a voltage) but is disconnected. I also decided that the shutter release lock was too fiddly to make and insufficiently important. Everything else was re-made, which does bring all of the rest of the camera back into working order. The restoration process did not require any remarkable methods, but I thought it worth recording if only to show some of the interior workings of a camera which is not much seen otherwise. The missing film wind crank was replaced with one found in my box of scrap, which had to be shortened slightly – it was probably from a 6x6 TLR, and so just a little over-length. Luckily the connection to the mechanism was near enough identical, I just needed to supply a short rod. The reflex mirror was likewise simple. As I usually do, I cut down a piece of front-surface mirror scavenged from a discarded inexpensive Polaroid camera. Many of those contain a big and properly optical mirror which can be extracted for re-use. There are two sets of gearbox-like mechanism that needed attention. One is the arrangement of geared rings which are turned by the two setting knobs (aperture and shutter). Their first action is to move the controls on the actual shutter (a conventional Copal SV), then secondly they drive another pair of rings that surround the viewing lens, and which carry the scales visible in the peep window at the top. Taking the outer front plate off (4 screws under the leatherette) allows access to all this. The extra complication in this case was that the aperture setting wheel was totally absent, as were the bearing it runs in, and the 15-tooth gear on the back of it which drives the primary aperture ring. A bit of small lathe-work was required, to make the wheel from some brass bar, and a little bush to be the bearing. I bought a standard 15t spur gear, and carefully machined most of it away to leave a gear of the right thickness, and a little boss to space it away from the housing so it would engage with the correct ring. Not much space in there, so rather that riveting it (as on the other one) I held it in place with a drop of superglue. It is not highly stressed, and this is quite strong enough. Whilst all this was off I gave the shutter a clean internally. This needs to be done with some care, as the usual method of getting the shutter right out of the camera by undoing a nut at the back, doesn’t work as you can’t access the nut without a lot more dismantling, which I did not wish to do. The trickiest part is getting the front plate back on, so the rings engage correctly with each other and with the shutter controls. I found it easiest with the shutter set to 1 sec and f/2.8. |
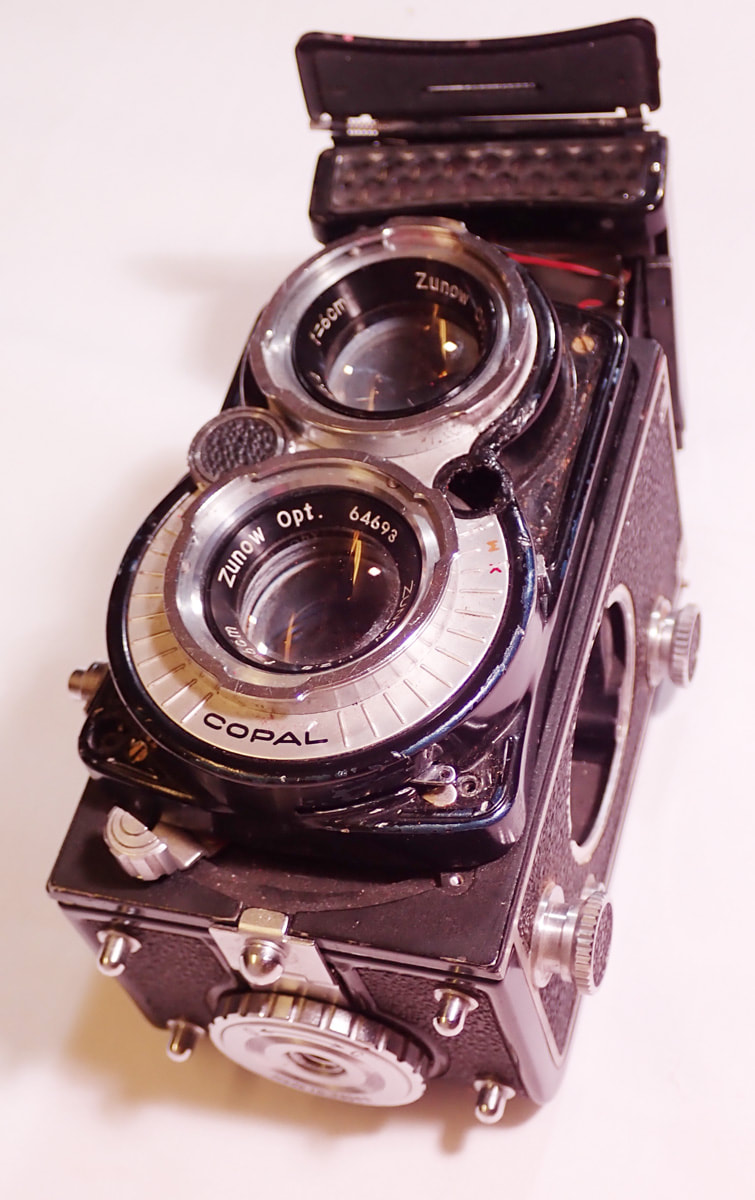

The camera as received
|
|
|
|
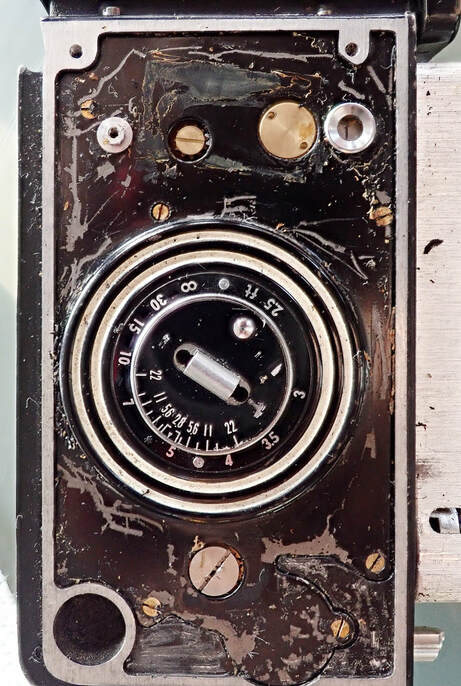
The second set of gears (and levers) is the mechanism that takes the movements of the winding crank, and converts them into film wind, frame count/stop, and shutter cocking. This area is the camera’s weak point; it is not as well implemented as in some other TLRs, and results in an uncomfortable user experience. The force required on the crank is too high, and not consistent from frame to frame. The shutter is usually cocked, and the interlock usually released after taking, but getting it happen every time required careful bending of lever-ends. This mechanism was not damaged or missing when the camera arrived, so I think it is an inherent design problem.
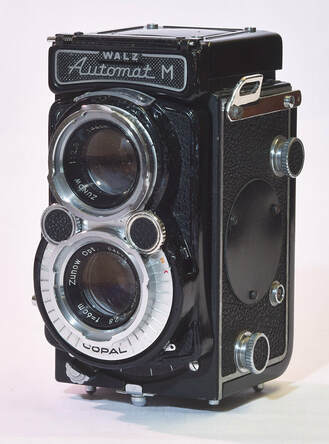
The focusing scale was designed in the computer following trials made by focusing the camera on measured distances, and printed on a piece of paper. The paper was sprayed with semi-matt varnish to seal and strengthen it, then glued to a piece of thin black plastic sheet which I had cut to fit the space. It isn't subject to wear, and should last. Finally I needed to make a pair of brackets from brass sheet, and nickel-plate them, that go along the top edge of the two sides. At the front they are strap lugs, and at the back they have holes that engage the hinge-pin of the back of the camera. Working so extensively on a camera means that you really get to know the insides. Despite some interesting design features, some of the basics are actually not very well implemented. The film winding and shutter cocking / interlock arrangements are not very smart, and it is easy to get the camera in a muddle, especially if you try it out without a film in. To do that, wind ¼-turn of the crank, advance the counter half way to the next number, wind another ¼-turn until you hear the shutter cock, advance the counter until it stops, and back the crank off to the start position. Only then can you safely press the shutter button! Of course, with a film in place, the film itself is operating the counter and things are not so complicated. Optically the Walz is sound rather than remarkable. I was able to take pictures successfully, though I never felt that I was using something mechanically confident. As so often, in the end I suspect that the reason it is quite rare is that it was just not good enough and very few were produced. Quite often the light meter of a 60-year-old camera doesn’t work, and we accept that as part of life. The difference in this case, is that the meter is actually missing, but apart from that I am in the “usual” situation. Overall, I am happy with my £20 purchase! After the partial restoration
|
|
|
|
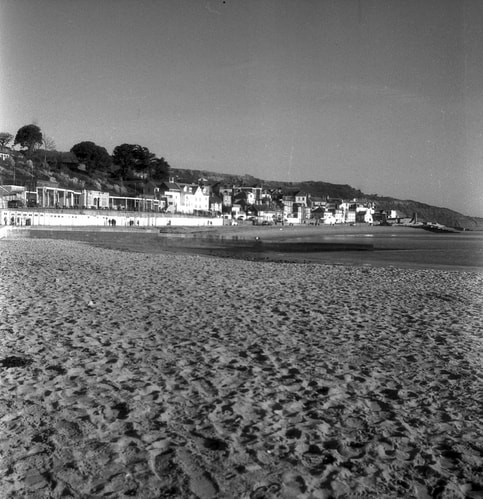
Two pictures taken with the restored Walz Automat M - Lyme Regis, January 2019 - Kodak Aerographic 2645 film re-rolled as 127